

Penetrant Inspection Systems
Description
Penetrant Inspection Systems (PT)
Penetrant Testing (PT), also known as Liquid Penetrant Inspection (LPI) or Dye Penetrant Inspection (DPI), is a widely used non-destructive testing (NDT) method for detecting surface-breaking discontinuities in almost any non-porous material. Unlike MPT, which is restricted to ferromagnetic materials, PT can be applied to metals (ferrous and non-ferrous), plastics, ceramics, and even glass, making it incredibly versatile.
The core principle of PT involves applying a liquid penetrant to the surface of a test piece. This penetrant seeps into any surface-breaking flaws through capillary action. After a dwell time, the excess penetrant is removed, and a developer is applied. The developer then draws the penetrant out of the flaws, making them visible as indications.
The PT Process – A Step-by-Step Overview:
The PT process generally consists of five main steps:
-
Pre-Cleaning: This is a critical first step. The surface of the part must be thoroughly cleaned to remove any contaminants like dirt, grease, oil, paint, or rust. These contaminants could prevent the penetrant from entering flaws or could lead to false indications. Cleaning methods include solvent wiping, alkaline cleaning, vapor degreasing, or abrasive blasting, followed by drying.
-
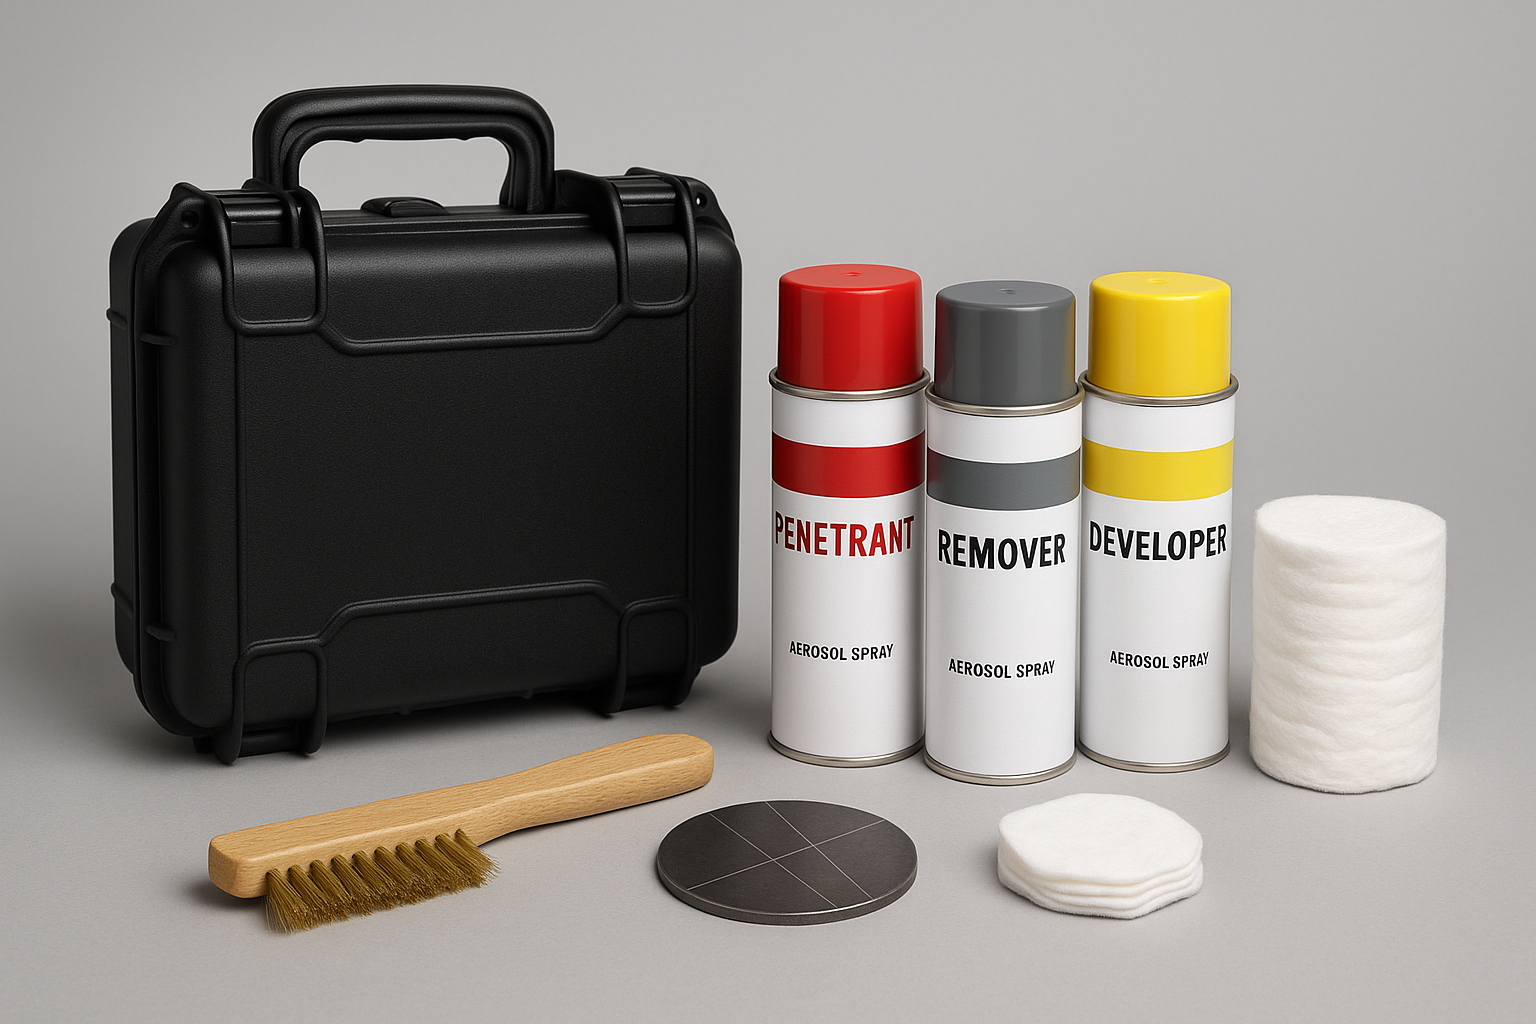
Penetrant Application: The liquid penetrant is applied to the surface of the part. This can be done by spraying, brushing, or immersing the part. The penetrant, which is usually colored (visible red dye) or fluorescent, is allowed a sufficient “dwell time” (typically 5 to 60 minutes, depending on the material, temperature, and type of flaw expected) to seep into any surface-breaking discontinuities.
-
Excess Penetrant Removal: After the dwell time, any excess penetrant remaining on the surface must be carefully removed. The method of removal depends on the type of penetrant used:
-
Water-Washable Penetrants: Removed by a water spray.
-
Post-Emulsifiable Penetrants: An emulsifier is applied to the surface to make the penetrant water-washable, and then it’s removed with water.
-
Solvent-Removable Penetrants: Wiped off with a clean cloth lightly dampened with a solvent.
-
Care must be taken not to over-remove the penetrant, which could pull penetrant out of the flaws. The part is then dried.
-
-
Developer Application: A thin, uniform layer of developer is applied to the dry surface. The developer is a fine powder (often suspended in a solvent or water) that acts like a blotter. It draws the penetrant out of any surface-breaking flaws back onto the surface, creating visible indications. Developers come in various forms, including dry powder, wet non-aqueous, and aqueous.
-
Inspection: After a “developing time” (typically 7 to 30 minutes), the part is inspected.
-
For visible penetrants, the inspection is performed under good white light. Flaws appear as bright red indications against a white developer background.
-
For fluorescent penetrants, the inspection is performed under ultraviolet (UV-A) light in a darkened area. Flaws glow a brilliant yellow-green, offering significantly higher sensitivity.
-
Indications are interpreted by a trained technician to determine the nature, size, and location of any discontinuities.
-
Types of Penetrant Systems:
Penetrant systems are primarily categorized by the type of penetrant used and its removal method:
-
Type I: Fluorescent Penetrants: Offer higher sensitivity and are inspected under UV light. Further classified by sensitivity level (1/2, 1, 2, 3, 4).
-
Type II: Visible Penetrants: Offer good sensitivity for larger flaws and are inspected under white light.
-
Method A: Water-Washable: Penetrant contains an emulsifier and is removed with water.
-
Method B: Post-Emulsifiable, Lipophilic: An oil-based emulsifier is applied after penetrant.
-
Method C: Solvent Removable: Excess penetrant is removed with a solvent-wetted cloth.
-
Method D: Post-Emulsifiable, Hydrophilic: A water-based emulsifier is applied after penetrant.
Advantages of Penetrant Testing:
-
Versatility: Applicable to virtually all non-porous materials.
-
High Sensitivity: Can detect very fine, shallow surface cracks.
-
Low Cost: Relatively inexpensive compared to many other NDT methods.
-
Simplicity: Easy to learn and perform, making it suitable for field applications.
-
Direct Visual Indication: Flaws are directly visible on the surface.
-
Portable Equipment: Most PT materials and equipment are highly portable.
Limitations of Penetrant Testing:
-
Surface-Breaking Flaws Only: Cannot detect subsurface discontinuities.
-
Surface Finish: Rough surfaces can mask indications or cause excessive background.
-
Porous Materials: Not suitable for porous materials, as the penetrant will enter the pores.
-
Pre-Cleaning is Critical: Inadequate cleaning can lead to missed flaws or false indications.
-
Temperature Sensitivity: Performance can be affected by extreme temperatures.
-
Chemical Exposure: Involves the use of chemicals, requiring proper handling and ventilation.
Applications:
Penetrant Testing is widely used across industries for quality control and maintenance:
-
Aerospace: Inspecting turbine blades, airframe components, and welds.
-
Automotive: Checking engine blocks, crankshafts, and other machined parts.
-
Manufacturing: Inspecting castings, forgings, and fabricated components.
-
Oil and Gas: Assessing welds, pressure vessels, and piping.
-
Power Generation: Detecting cracks in critical components of power plants.
Penetrant Inspection Systems are an indispensable part of NDT, providing a reliable and adaptable method for ensuring the surface integrity of a vast array of materials and components.

Reviews
There are no reviews yet.